Dutton Kit Cars and their owners
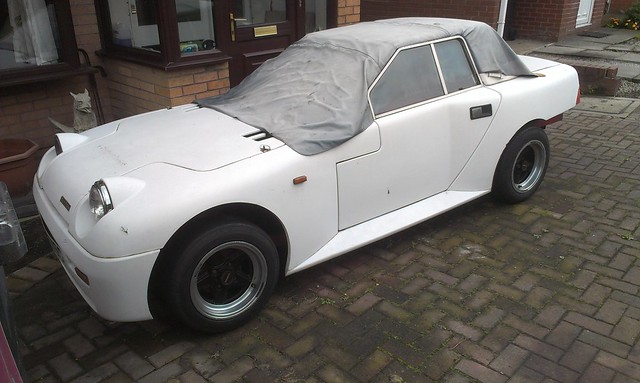
Q835XSC - Dutton Legerra Series 2
So, collected last weekend and the first chance I get to go over it we have snow / hail / rain and gales... lovely if your a penguin I guess...
Q835XSC purchased from the factory in 1988, completed in 1990, stored for the winter in 1991 and there it sat for 22 years, possibly one of the saddest Legerras I have ever seen apart from my black one.
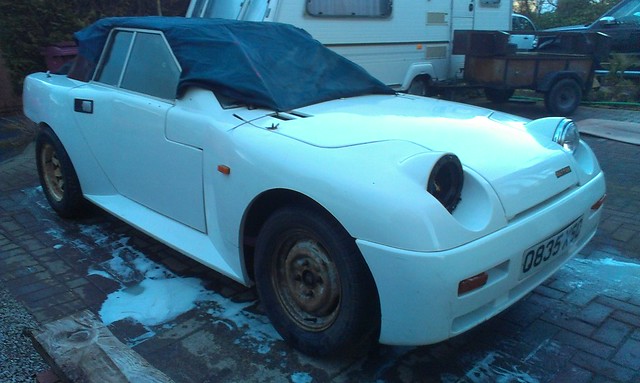
It was rough, body panels off, windscreen missing and a sorry case of 4 wheel drum brakes...
Today it got a wash, nothing special just caravan cleaner and a sponge but an improvement on fungus and moss...
Hell of a job on here lads, starting with a body off chassis check, bushes and bolts and some refurb bits fresh from the sand blasting cabinet.
I will be posting more detail on Mr G's but major updates will be copied onto here too.
Add a Comment
-
Comment by John Allen on May 27, 2016 at 8:43
-
Good work ade. All coming together.
-
Comment by James Doulton on May 27, 2016 at 8:01
-
Those welds look pretty tidy to me, I'd be proud of them. So does that triangle fillet not encroach into the door opening?
-
Comment by Adrian Southgate on May 27, 2016 at 0:33
-
One last photo before I closed up for the night, I'm still moving bits from the old lockup over to the unit and the engine crane has been invaluable, things like axles I used to pick up and carry, just cant do it anymore. The engine hoist has really paid for itself over and over. I also seem to have more axles than I expected. There's one under each of the leggies and four on the trolley (2 english and 2 salisbury) The salisburys are capri units and are 3+ inches wider at the end of the axle tubes...
-
-
Photo's though, oh yes, I know you all like photo's...
Bit of welding done... Now I'm not exactly a 'tidy' welder, in fact most of the work i've seen done on here puts me well in the 'rank amateur' class. I'm not trying to show off my welding skills. The original box section has a very rounded edge making the V between the two bits of metal quite deep (5-6 mm) Most of this gap is now full of weld and a lot has been ground back flush rather than leave messy bumps in the metal.
I've probably committed overkill on this but I really want it to stay put and not use 'filler'. I'd appreciate any constructive criticism or suggestions on how I could improve or if i've done something horribly wrong.
All these bits were tacked, then stitched a bit at a time allowing time to cool between welds, took bloody ages.
Anyroad, here's the evidence.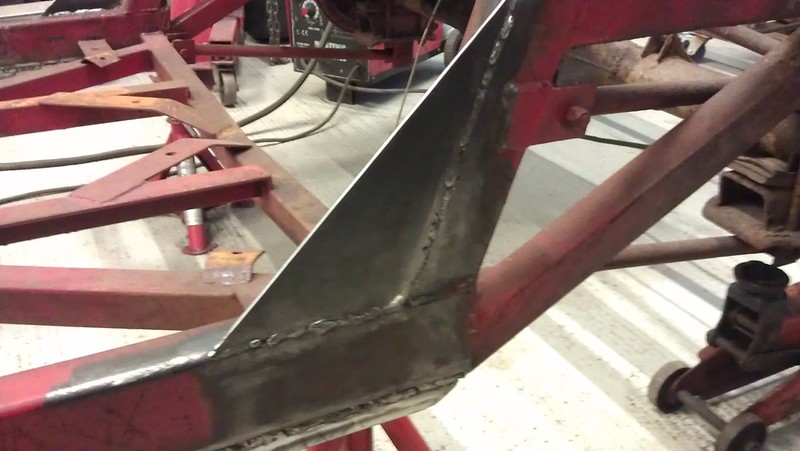
N/S chassis rail, large plate fitted to support the original welded joint.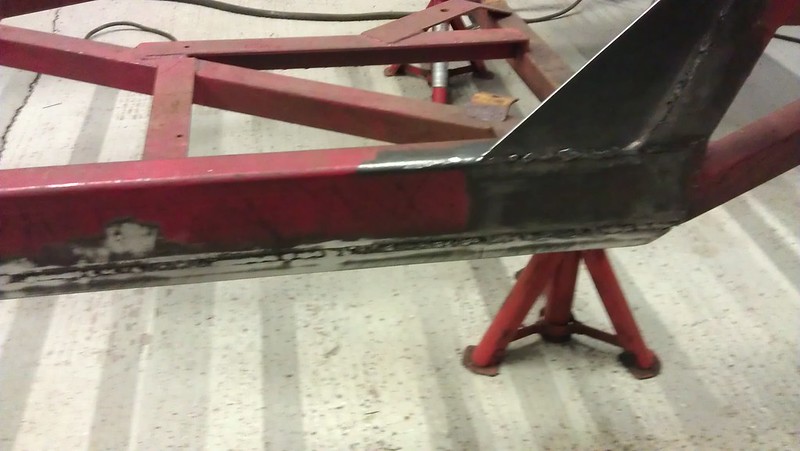
N/S chassis rail, support box, to stop the main rail from flexing
Full length of main rail seam welded, honestly thought i'd never finish this.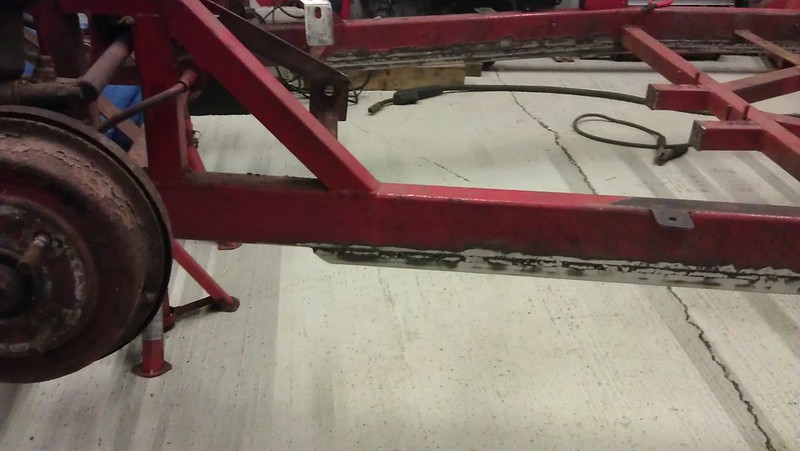
And the front of the rail, this bit is diagonally braced above the rail and may yet be plated as it exposes the side of the engine and starter motor (on the pinto) to spray.
Yes, thats a drum... on the front, There is a set of discs and calipers waiting to be fitted.
O/S inner edge of the large plate, more 'practice welding' where its not going to be visible. Once the chassis has been blasted i'll be able to touch this up if required (or smooth it off)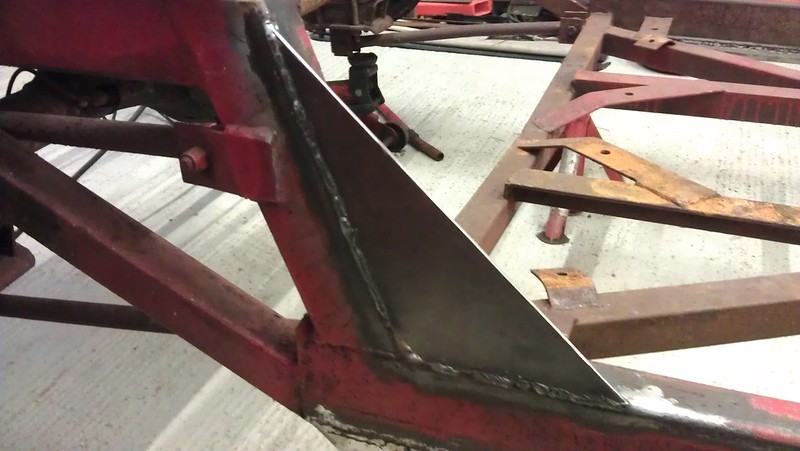
O/S outer face of the same plate, no grinding back yet, just wazzed over with the angry grinder and the wire wheel.
O/S outer face of the main rail, again seam welded down the entire length.
It may not be tidy but it's solid. I put axle stands under the front and rear extremities of the chassis and stood on the gearbox mounts. Normally this would cause a measurable deflection in the chassis, thats now gone. Hopefully this will prevent the door shuts fouling when closing as well as stiffening the ride up.
-
-
There are flouro's in the unit but still not quite enough of a 'spread' to illuminate down the sides when the car is not central. I have a cheap but bright LED torch cable tied to the top of the mig torch so I can see what I'm doing.
The side plates are only 2mm so I might add a bit of 6mm thick 1 inch bar to the back and plug weld it into place as well as seaming it on top and bottom.
Now then... its near time to test fit the body back on so I can add some more body locating brackets, check the wheel asthetics, ride height, exhaust location etc. Anyone local up for a bit of lifting and shuffling over the weekend?
-
Comment by Steve Kerswell on May 26, 2016 at 18:06
-
Night shift welding Ade? You mind those eyes.
-
-
Last bit of welding to do tonight - ran out of wire last night :(
Side rails added, side plates added, anti roll bar mounts added. Last bit is the panhard rod and shock mount 'levelling' - I'll post photo's when I get home later.
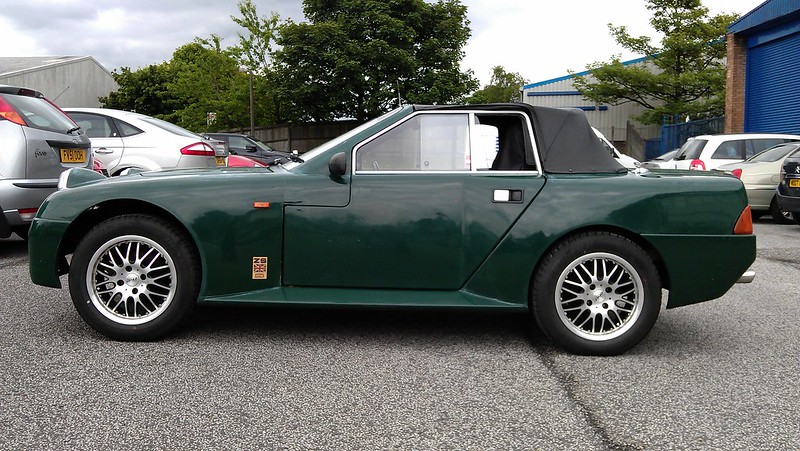
I had two of the Compomotive MS wheels reskinned with a pair of 205/60/13's for the back and it will run 185/60/13's on the front. Before I decide on tyres sizes I'll try them on the green one. Both 185's on one side then both 205's and then small front, big rear, just to see what the different setups look like. I also have a set of RS 4 spokes with 185/60/13 colway inter's on...
I really need to catalogue all the wheels and tyres, get some of the bare metal ones painted and polished up.
-
-
More amps it was captain... I have been spat at/on all afternoon..
Photo update tomorrow but my welding is improving. As yet I haven't had to grind any out although I may have a few to smooth off once the full seam is complete.
I tacked the bottom rails on, middle - cool, ends - cool, centre of gaps - cool, centre of new smaller gaps - cool... spent more time waiting for it to cool off than welding... After i'd got about ten stitches on each rail, about an inch long and both inboard and out I hoisted the chassis back onto its side and have started to fill the gaps between the stiches. Well over 1/2 a kilo of .9 gasless later and still going. Finish tomorrow then onto those rear shock brackets and the panhard rod.
As i'm working around the chassis I've noticed that most of the 'welded tab' brackets are tapered so may invest in some 3mm wall box to replace them with. No point not doing them while it's in bits really.
Photo's tomorrow.
-
-
Good work Ade, gasless mig never looks pretty, I find a few more amps help, in fact I run mine near on flat out ! Drilling and tapping seems a good thought.
-
-
While I've been dismantling this one I found the ARB was slightly skewed and was pushing the passenger side TCA back by about 15mm. This is more visible on my green one with the bigger wheels as it looks like this...
To rectify this I have taken the old mountings off and replaced them with something a little more substantial.
This is the old mount, its just two 1/2 inch bolts welded to the chassis rail, and the bush wedges between them when compressed. The mounts are not squared off which allows the bush to move around under stress.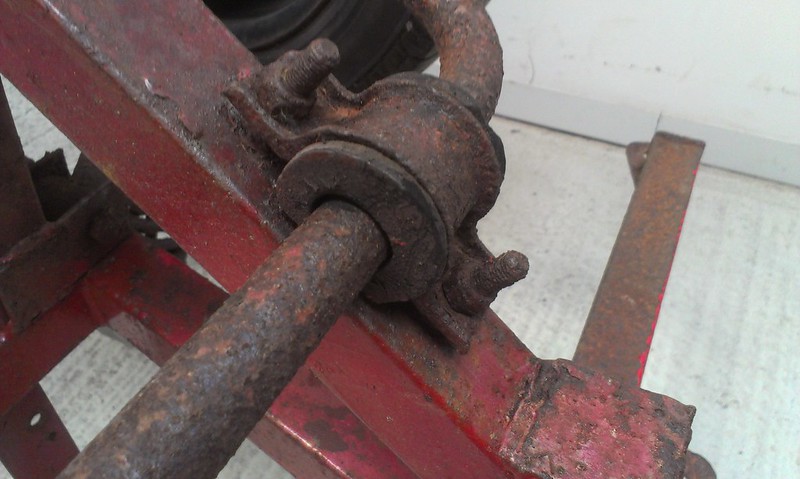
This might have seen better times but now it's just rust... Out with the angry grinder and made some wee alterations...
Now I was a bit worried about the chassis being square so out with two tape measures and some uber magnets. Measured the chassis diagonally and its within 2mm, quite impressed... measured lengthwise it is 1mm out so 'within tolerance' on a dutton
Using the ARB that will be fitted to the car (not the original) I fitted the new bushes and clamps bolted it back through the TCAs and spent an hour comparing diagonal measurements, drawing with a dry wipe marker and cutting little square blocks to weld to the chassis to keep the bushes straight. I decided to weld on blocks and then drill and tap them rather than try and weld bolts on in the right place. No exposed thread to go rusty again has got to be a bonus.
The other thing is I can fit stainless allen bolts to fill the holes when the chassis gets blasted to stop the blasting media getting into the threads. I was originally planning to make a box section to weld on to do this but that just seemed to be overkill.
New blocks cut, welded on and tidied up with the flap wheel. I might try to grind out the holes and fill them with more metal to make it a smooth surface. My excuse is it's the first time I have used a gasless mig ...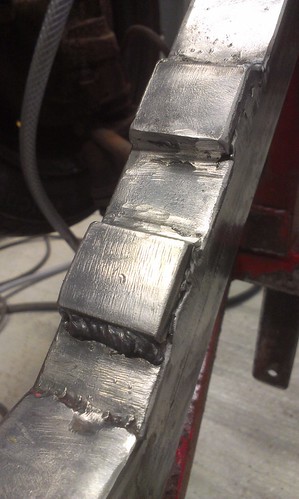
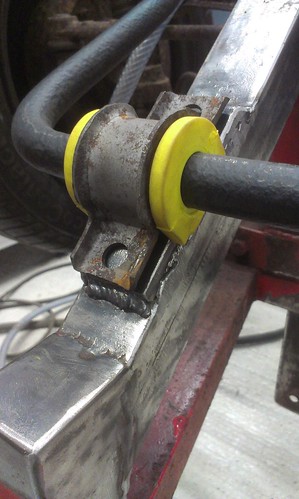
Bush / clamp assembly in place to test fit. I need to take a little more off each block as the clamp is down tight before the bush is fully compressed into place but thats just fine tuning.
Holes drilled and tapped this is now bolted into place to test fit again.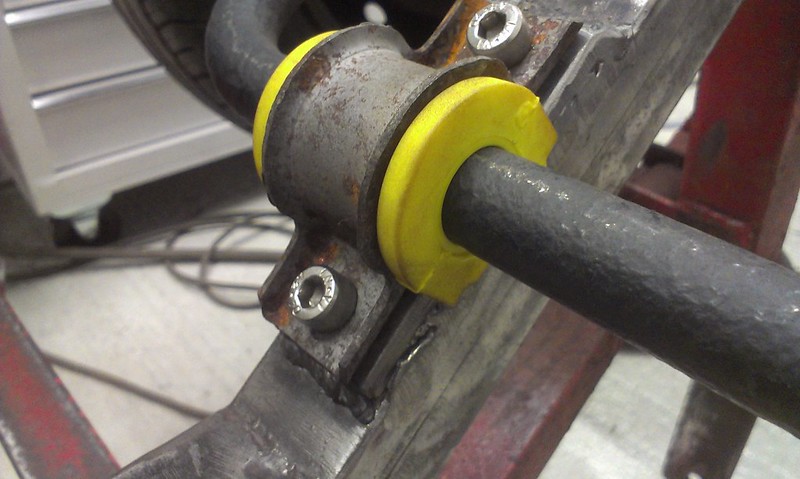
And thats me done for the night. Both sides have been welded on, initial clean up done then drilled and tapped to M8x1.25. There is still a bit of fine tuning to be done in the gap between the two blocks to allow the bushes to sit perfectly.
About
© 2024 Created by Tim Walker (The Bodger).
Powered by
![]()
You need to be a member of DuttonOwners to add comments!
Join DuttonOwners