Dutton Kit Cars and their owners
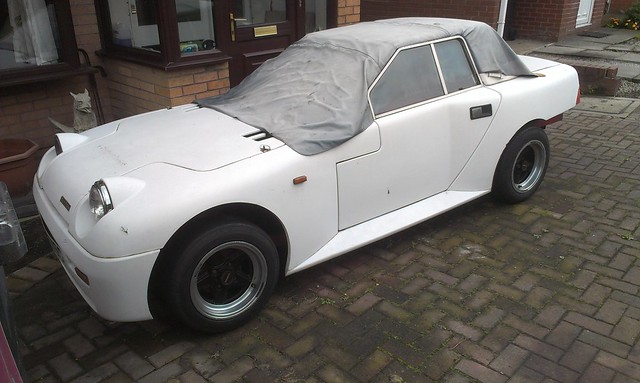
Q835XSC - Dutton Legerra Series 2
So, collected last weekend and the first chance I get to go over it we have snow / hail / rain and gales... lovely if your a penguin I guess...
Q835XSC purchased from the factory in 1988, completed in 1990, stored for the winter in 1991 and there it sat for 22 years, possibly one of the saddest Legerras I have ever seen apart from my black one.
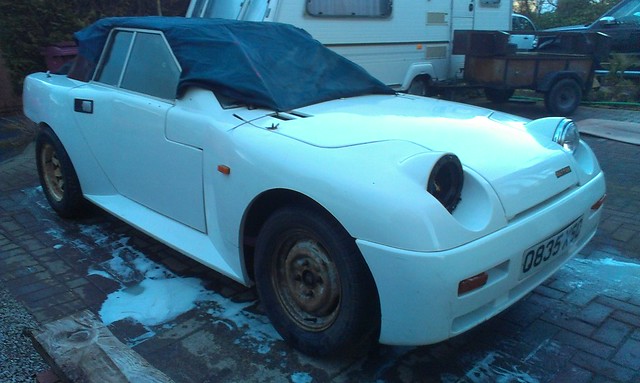
It was rough, body panels off, windscreen missing and a sorry case of 4 wheel drum brakes...
Today it got a wash, nothing special just caravan cleaner and a sponge but an improvement on fungus and moss...
Hell of a job on here lads, starting with a body off chassis check, bushes and bolts and some refurb bits fresh from the sand blasting cabinet.
I will be posting more detail on Mr G's but major updates will be copied onto here too.
Add a Comment
-
Comment by Adrian Southgate on May 5, 2016 at 10:17
-
I see what your getting at, well part of it.. When you say 'slip a bit of 2-3mm steel in' are you talking about a triangular gusset where the third arrow is or a flat plate in the horizontal plane where the middle arrow is?
-
Comment by Steve Kerswell on May 5, 2016 at 9:59
-
Think your overthinking this Ade, if it's straight and your welding a strengthening box you shouldn't need a backbend, once straight it should stay straight. As the chassis rail is in the right plane for strength it will overcome the new section being added in the wrong plane. I'd slip a piece of 2-3mm steel in the middle and clamp up the ends, and weld the ends, flip it over and see what you have gained.
-
-
Looking at one the right way up I guess these are the points where stress is most likely to occur.
The rear one is the most likely where the occupant intrusion is felt most so I may measure up under the green one and see if there is any space to fit a gusset or even a triangular end plate to brace that joint. As I have no intention of putting occupants in the rear 'seats' then some of the foot well in the rear could be sacrificed to accommodate a brace. I'll drop the wheel off the green one and have a look.
-
-
Thanks Paul. Its difficult to measure where exactly the deformation occurs or by how much but its enough to close the door gaps. I suppose putting it on axle stands the right way up and measuring deflection with a couple of dial gauges would have and still is a sound idea..
-
Comment by Paul Sheridan on May 5, 2016 at 7:30
-
Good work there Mr Southgate, I have never taken much notice of this type of chassis before so it is interesting to see your progress. Out of interest how much does the chassis flex? or does it actually bend over time?
-
-
The box section for this mod cost less than £20. 2 x 2M lengths of 20x40x2mm.
All the bits used to 'straighten' this legerra have plans and are therefore reproducible so if anyone is interested in having 'ready made bits' let me know and I'll try and sort it.
The bolts holing the suspension together are dubious. I can see them getting some abuse before they shift.
-
-
Hot off the press, well more like the angry grinder really...
As young Patrick came over and gave me some room back and the Sierra got fixed and that gave me a bit more... time to crack on with the leggie then.
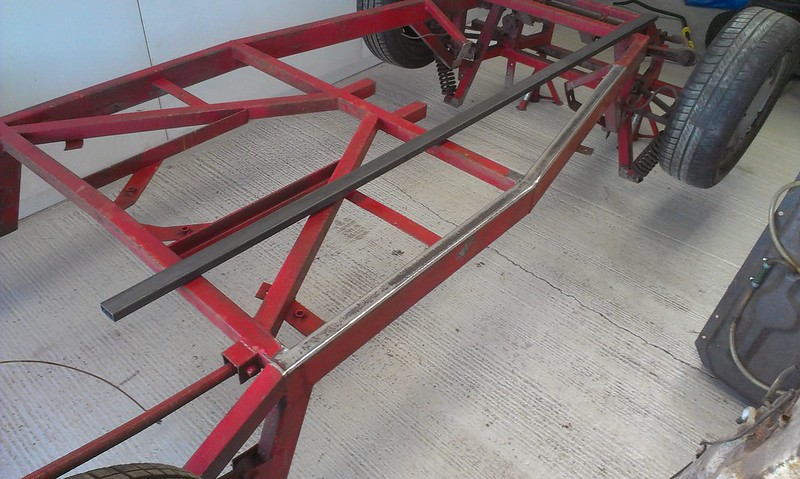
I dragged the chassis from it's hiding place under the front of the body and using the trusty engine hoist I lifted the chassis on one side and then carefully lowered it back down. This means the bits that need therapy are higher up so much easier to get to. Gravity also comes in useful as the chassis is supported at either end with axle stands and and natural bend is reversed.
IMAG0526 by Adrian Southgate, on Flickr
I started to run a flap wheel over the lower edge of the rail but it's quite pitted so I'll use a wire brush in the angry grinder and then weld through primer once it's tidy.
Sitting on top of the chassis you can see the 20mm x 40mm box thats going to be added. It will need a wedge taking out about halfway to allow it to follow the existing chassis then the whole lot is going to be seam welded together.
Looking at the other parts underneath I can see I am going to have to order some more wire brushes.
Round two this evening and realised the 'tough paint' was actually an extra fine grit flap wheel
That changed for something with a bit more attitude it took less than ten minutes to remove all the paint and pitting from the area to be welded. Time to get creative. I trimmed a little V out of the end of the box section and 'adjusted it into a curved end which will hopefully match up with the existing chassis and round the new metal off nicely. Bit of a gap to fill but that'll fill with weld.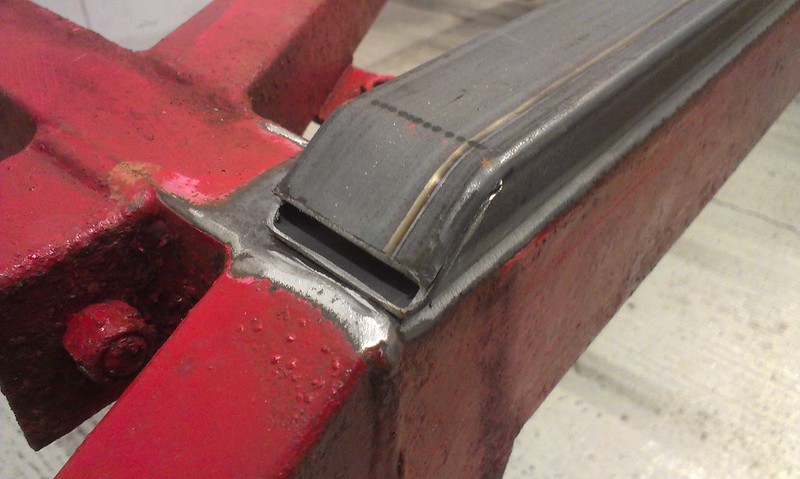
IMAG0533 by Adrian Southgate, on Flickr
Did something similar to the front.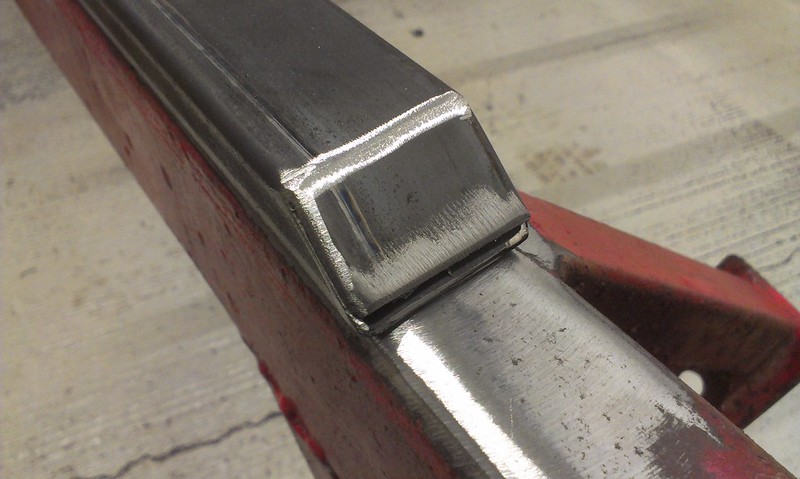
IMAG0535 by Adrian Southgate, on Flickr
Both sides are cut and laid in place but no welding done as I'm having a pro do that. They will need the V shape I cut out in the middle welding up at the right angle before they are welded to the chassis.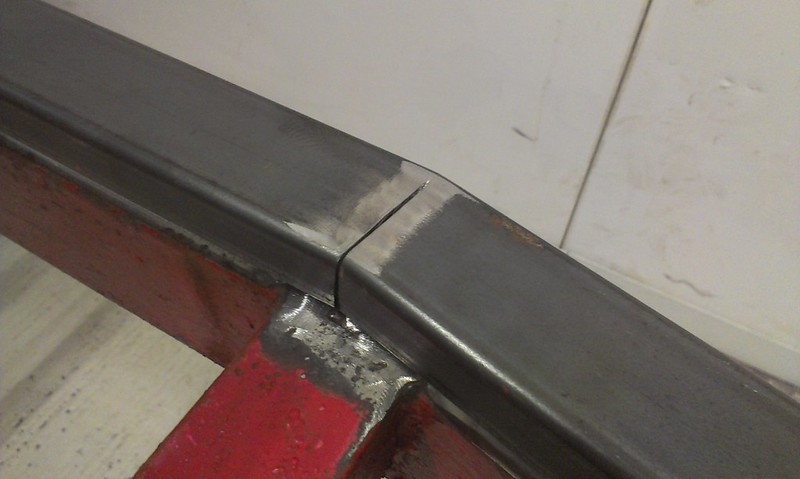
IMAG0536 by Adrian Southgate, on Flickr
The rails fit nicely as they are so hopefully it will be just clamp up and mig on, might have to clean a bit more metal back in places. Plan is for me to sit on the centre of the chassis while they are welded on which will hopefully produce a slight bow in the side rails in the opposite direction to that produced when the car is the right way up and my lardy backside sits in it.
Last one for the night is both side rails sitting in place on the bottom of the main chassis rails.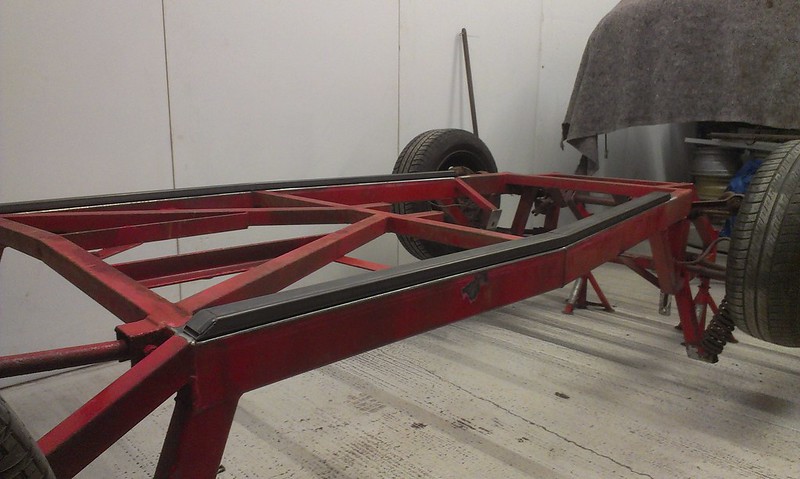
IMAG0532 by Adrian Southgate, on FlickrARB brackets tomorrow.
-
-
Bloody good find then, lucky? More then lucky :-))
-
-
Right then. Experts been and checked the '1300', turns out to be a 1600 with +30 pistons, newish timing gears and chain, with a 1600 head with valve inserts already fitted.
Now all I have to do is clean it, fettle it and put it back together.
#1
#2
#3
#4
The head has already been ported slightly but Mr Taylor has given me a few tips and I expect to be able to smooth it out a little before reassembly. I've been quoted £8 per valve guide to have them added so wondering if that is worth doing while it's all in bits.
The head has machine marks across the surface that became apparent when cleaned it off, don't know if thats factory or skimming...
You can't really see them in a low res photo so i'll upload the full one onto flickr.
-
-
Awesome, cheers lads. So the '1300' isnt... makes me wonder why it had a 1300HC rocker cover as it came from a vehicle that had never been registered so therefore not afflicted by insurance issues.
About
© 2024 Created by Tim Walker (The Bodger).
Powered by
![]()
You need to be a member of DuttonOwners to add comments!
Join DuttonOwners